I love cookbooks. I can flip through them, gazing at the pictures, drooling the whole time, reading each recipe, lost in the pages the same way I can get with a good novel. However, I realize that for those out there with special diets, sometimes finding cookbooks they can enjoy is a harder task. But now there is a new cookbook on the block the makes eating gluten-free easy and delicious!
The Warm Kitchen: Gluten Free Recipes Anyone Can Make and Everyone Will Love by Amy Fothergill, author of The Family Chef blog, is not just a cookbook-- it is so much more! Filled with 150 tasty recipes with dairy and egg substitutions, Amy has also included tips, techniques, and step by step instructions too.

So many people are choosing to live a gluten-free lifestyle, both because they find it beneficial, and because of necessity for health reasons. But eating gluten-free does not have to mean eating taste free. And in this book, the mystery is taken out of cooking gluten-free. Amy totally disproves cooking without gluten is challenging or unappetizing. From breakfast to dessert--with soups, salads, main and side dishes, and breads in between, these recipes feature real ingredients and easy to follow instructions that results in delicious meals the whole family will love. Plus, with the use of her single, easy-to-mix, gluten free flour bend, home cooks can create favorites such as bagels, fresh breads, chicken pot pie, pizza, doughnuts, cupcakes and more.
Just look at these two recipes I can not wait to try!
Lemon Caper Sauce


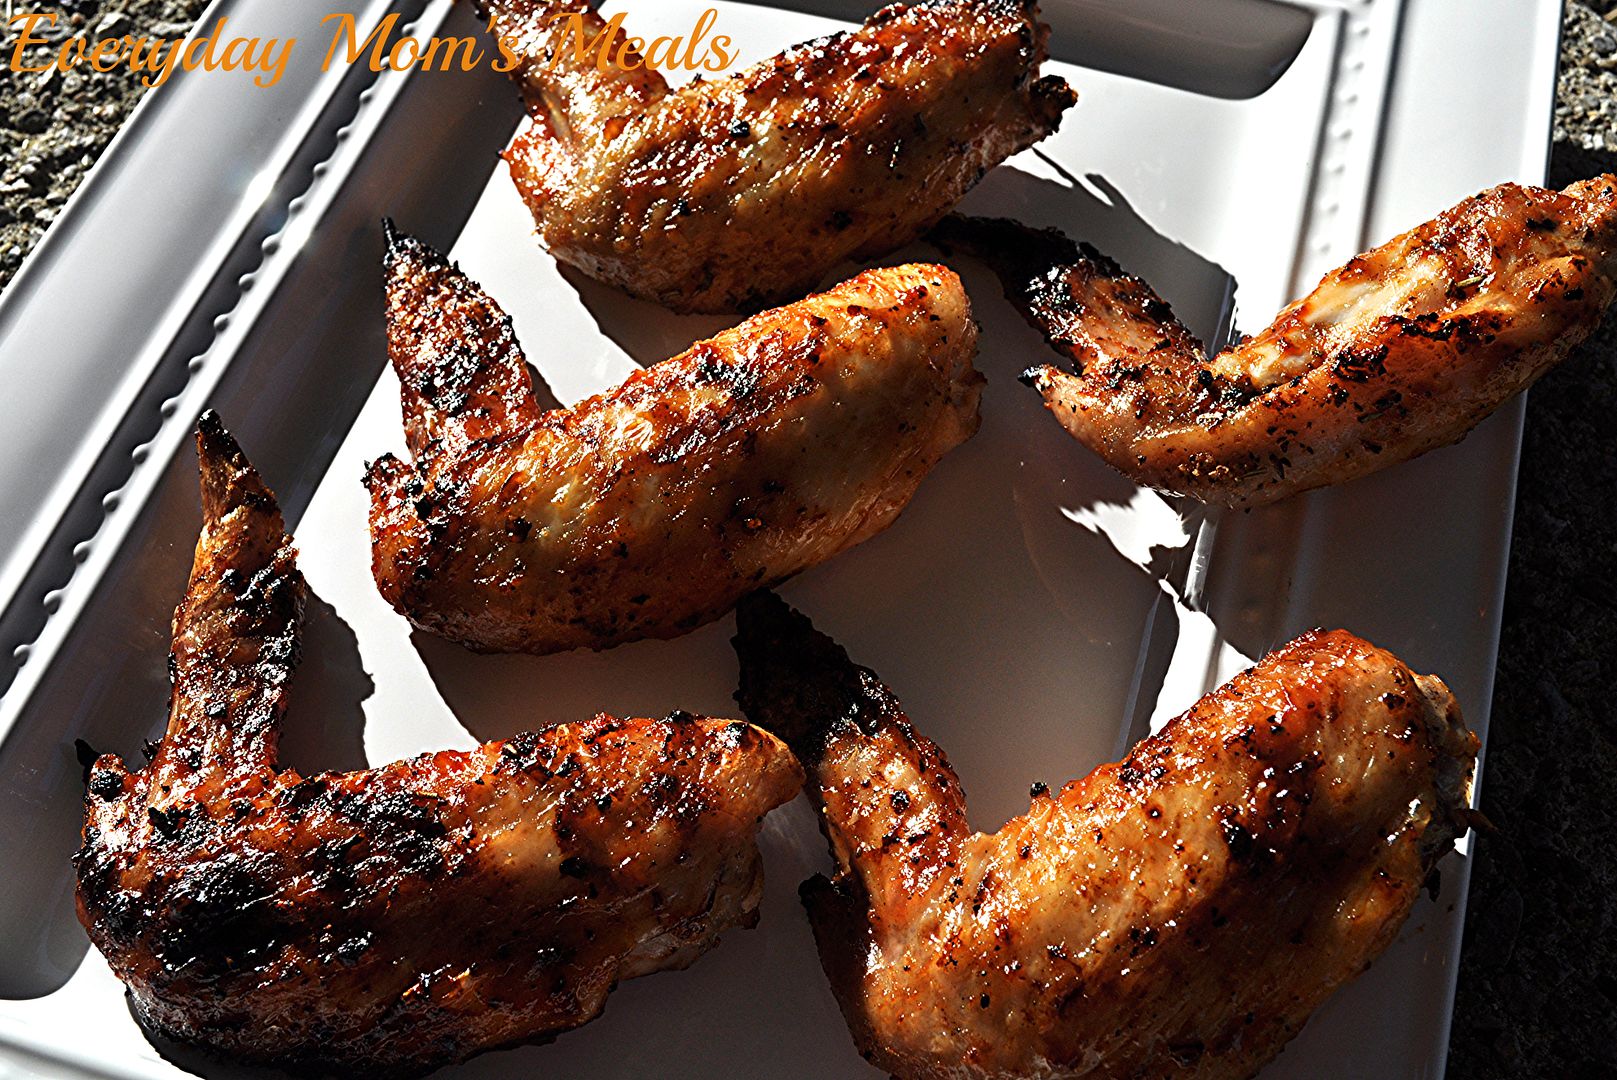
I can just taste this over some grilled chicken or broiled fish. I love the flavor of lemon and capers together.
Italian Lentil Soup


Coming home after a long cold day, this soup would warm you up and fill you up at the same time. All while being scrumptious in a bowl!
Amy understands cooking for multiple food allergies and also includes excellent substitutions for dairy, eggs and sugar. Her number one goal is that home cooks are as successful as she has been with creating dishes for any occasion any day of the week. She says "When you open up The Warm Kitchen, I want you to feel like you have come into my kitchen; the warmth comes from both the oven as well as my heart."
If you are struggling to cook for you family's special dietary needs, this book is the perfect guide for you. Let Amy come into your kitchen and show you just how easy and tasty a gluten-free lifestyle can be. Or, with the holidays coming sooner than you think, if you have someone on your gift list that is GF, this would make a fantastic gift, showing them you understand and support their eating choices.
Bring The Warm Kitchen into your kitchen, or a loved one's kitchen today. And fill your table with yummy, family friendly, gluten-free meals day after day!
*Disclaimer* I was provided with a free cookbook for this review. All thoughts and opinions are my own.
*Disclaimer* I was provided with a free cookbook for this review. All thoughts and opinions are my own.
I love cookbooks. I can flip through them, gazing at the pictures, drooling the whole time, reading each recipe, lost in the pages the same way I can get with a good novel. However, I realize that for those out there with special diets, sometimes finding cookbooks they can enjoy is a harder task. But now there is a new cookbook on the block the makes eating gluten-free easy and delicious!
The Warm Kitchen: Gluten Free Recipes Anyone Can Make and Everyone Will Love by Amy Fothergill, author of The Family Chef blog, is not just a cookbook-- it is so much more! Filled with 150 tasty recipes with dairy and egg substitutions, Amy has also included tips, techniques, and step by step instructions too.
So many people are choosing to live a gluten-free lifestyle, both because they find it beneficial, and because of necessity for health reasons. But eating gluten-free does not have to mean eating taste free. And in this book, the mystery is taken out of cooking gluten-free. Amy totally disproves cooking without gluten is challenging or unappetizing. From breakfast to dessert--with soups, salads, main and side dishes, and breads in between, these recipes feature real ingredients and easy to follow instructions that results in delicious meals the whole family will love. Plus, with the use of her single, easy-to-mix, gluten free flour bend, home cooks can create favorites such as bagels, fresh breads, chicken pot pie, pizza, doughnuts, cupcakes and more.
reade more...
The Warm Kitchen: Gluten Free Recipes Anyone Can Make and Everyone Will Love by Amy Fothergill, author of The Family Chef blog, is not just a cookbook-- it is so much more! Filled with 150 tasty recipes with dairy and egg substitutions, Amy has also included tips, techniques, and step by step instructions too.
So many people are choosing to live a gluten-free lifestyle, both because they find it beneficial, and because of necessity for health reasons. But eating gluten-free does not have to mean eating taste free. And in this book, the mystery is taken out of cooking gluten-free. Amy totally disproves cooking without gluten is challenging or unappetizing. From breakfast to dessert--with soups, salads, main and side dishes, and breads in between, these recipes feature real ingredients and easy to follow instructions that results in delicious meals the whole family will love. Plus, with the use of her single, easy-to-mix, gluten free flour bend, home cooks can create favorites such as bagels, fresh breads, chicken pot pie, pizza, doughnuts, cupcakes and more.
Just look at these two recipes I can not wait to try!
Lemon Caper Sauce
I can just taste this over some grilled chicken or broiled fish. I love the flavor of lemon and capers together.
Italian Lentil Soup
Coming home after a long cold day, this soup would warm you up and fill you up at the same time. All while being scrumptious in a bowl!
Amy understands cooking for multiple food allergies and also includes excellent substitutions for dairy, eggs and sugar. Her number one goal is that home cooks are as successful as she has been with creating dishes for any occasion any day of the week. She says "When you open up The Warm Kitchen, I want you to feel like you have come into my kitchen; the warmth comes from both the oven as well as my heart."
If you are struggling to cook for you family's special dietary needs, this book is the perfect guide for you. Let Amy come into your kitchen and show you just how easy and tasty a gluten-free lifestyle can be. Or, with the holidays coming sooner than you think, if you have someone on your gift list that is GF, this would make a fantastic gift, showing them you understand and support their eating choices.
Bring The Warm Kitchen into your kitchen, or a loved one's kitchen today. And fill your table with yummy, family friendly, gluten-free meals day after day!
*Disclaimer* I was provided with a free cookbook for this review. All thoughts and opinions are my own.
*Disclaimer* I was provided with a free cookbook for this review. All thoughts and opinions are my own.