Today's recipe is yet another one of those that I blogged before most of you were even reading EMM. It also happens to be a recipe that I find myself turning to again and again, especially in the warm months of the year. So you can see why I say it's "too good not to repeat."
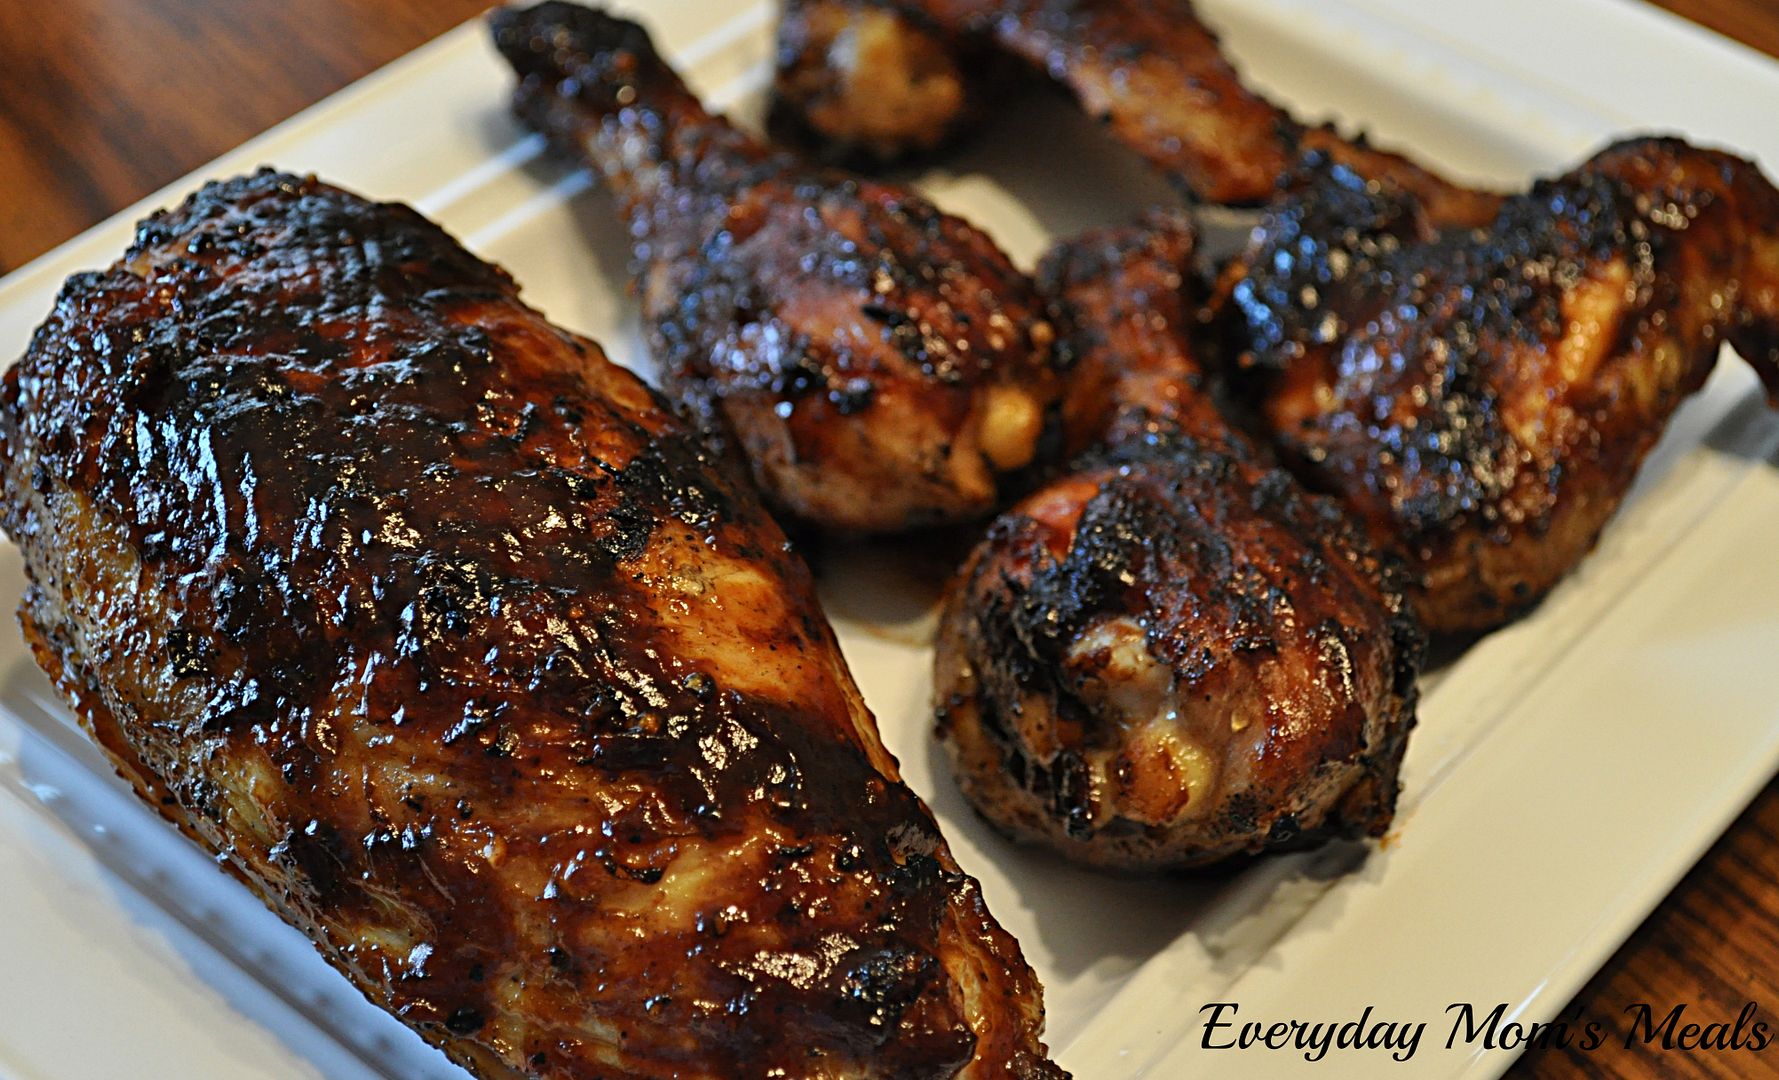
Chicken on the grill has always been a favorite of mine, all the way back to my childhood. One of the best memories I have of the summer time is my mom and I visiting my grandparents in Pennsylvania for 2 weeks in the summer. We would go on mini trips sight seeing to various sights like Gettysburg, Niagara Falls, Hershey...lots of fun places! We spent some of the time camping...or should I say our version of camping in a nice air conditioned Winnebago! (And to this day I don't camp in a tent. If I camp, it's going to include all the amenities I remember from those trips!) And sometimes we would just stay at home and have bonfires, grill out, and swing by the local ice cream stand!
Nobody could grill a chicken wing like my grandpa! There was nothing special about them. Grandma literally put salt, pepper and garlic salt on them; but something about the way he cooked them...they were juicy, but crispy on the ends, moist and oh so flavorful. In later years, we've talked about just how yummy they were and why; and we've come to the conclusion it has to have something to do with the fact he wasn't cooking on a charcoal or propane grill. Those wings were cooked over the flames of natural gas, and evidently it worked magic on them!
This is a great recipe for all of you who love to grill too. My dear friend gave it to me a few years ago, and I'm so happy she did! It's simple, quick, and can be marinating all day while you are at work, and ready to grill when you get home. It has amazing flavor and can easily be adapted to feed a huge crowd for a backyard barbecue. (The season is coming!)
Whenever I get the chance to make chicken on the grill, no matter what kind, it makes me smile and think of Grandpa. I will be honest, not once have I tried to recreate those wings. I know I never could. Simply put, his were the best, and I want to remember how they tasted, and eating them with him on a warm summer night. It's been 12 years since my grandpa passed, and I still smile thinking of those summer vacations, riding up front in that camper while he drove, riding on the John Deer with him while he mowed, his favorite "look" of sandals with socks, begging to go get ice cream again...even though we just had the night before (Pa Pa never could say no to his Punkin!), and eating delicious chicken wings, loving every minute.
Food is definitely love, and that love remains in memories even when the people we love are no longer with us~
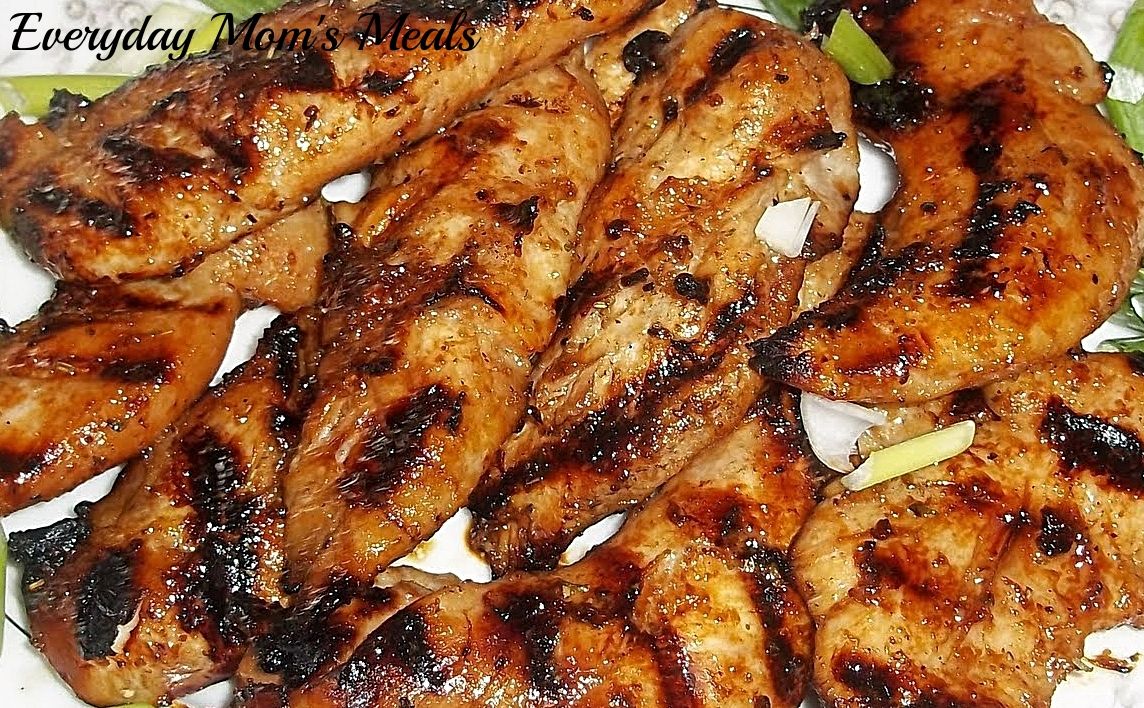
Grilled Honey Soy Chicken
1.5 lbs. chicken of your choice, we like boneless tenders
2/3 c. honey
2/3 c. soy sauce
2 garlic cloves, minced
1/2 c. vegetable oil
1 TBS prepared horseradish
2 tsp. grill seasoning
2 green onions, chopped, optional
In a medium bowl combine all ingredients for marinade. Stir well until combined. Measure out a cup of marinade and refrigerate. Place chicken in remaining marinade and allow to chill for 5-6 hours. When ready to grill, remove chicken and discard marinade. Preheat grill to medium high. Spray with cooking spray. Place chicken on grill and sear for 2 minutes per side. Lower heat to medium low and continue cooking and basting with reserved marinade for 20 minutes until chicken no longer pink. Garnish with green onions, if desired.
Shared on Lady Behind The Curtain May 2, 2013
Shared on Miz Helen's Country Cottage May 2, 2013
Shared on The Country Cook May 3, 2013
Today's recipe is yet another one of those that I blogged before most of you were even reading EMM. It also happens to be a recipe that I find myself turning to again and again, especially in the warm months of the year. So you can see why I say it's "too good not to repeat."
Chicken on the grill has always been a favorite of mine, all the way back to my childhood. One of the best memories I have of the summer time is my mom and I visiting my grandparents in Pennsylvania for 2 weeks in the summer. We would go on mini trips sight seeing to various sights like Gettysburg, Niagara Falls, Hershey...lots of fun places! We spent some of the time camping...or should I say our version of camping in a nice air conditioned Winnebago! (And to this day I don't camp in a tent. If I camp, it's going to include all the amenities I remember from those trips!) And sometimes we would just stay at home and have bonfires, grill out, and swing by the local ice cream stand!
Nobody could grill a chicken wing like my grandpa! There was nothing special about them. Grandma literally put salt, pepper and garlic salt on them; but something about the way he cooked them...they were juicy, but crispy on the ends, moist and oh so flavorful. In later years, we've talked about just how yummy they were and why; and we've come to the conclusion it has to have something to do with the fact he wasn't cooking on a charcoal or propane grill. Those wings were cooked over the flames of natural gas, and evidently it worked magic on them!
This is a great recipe for all of you who love to grill too. My dear friend gave it to me a few years ago, and I'm so happy she did! It's simple, quick, and can be marinating all day while you are at work, and ready to grill when you get home. It has amazing flavor and can easily be adapted to feed a huge crowd for a backyard barbecue. (The season is coming!)
Whenever I get the chance to make chicken on the grill, no matter what kind, it makes me smile and think of Grandpa. I will be honest, not once have I tried to recreate those wings. I know I never could. Simply put, his were the best, and I want to remember how they tasted, and eating them with him on a warm summer night. It's been 12 years since my grandpa passed, and I still smile thinking of those summer vacations, riding up front in that camper while he drove, riding on the John Deer with him while he mowed, his favorite "look" of sandals with socks, begging to go get ice cream again...even though we just had the night before (Pa Pa never could say no to his Punkin!), and eating delicious chicken wings, loving every minute.
Food is definitely love, and that love remains in memories even when the people we love are no longer with us~
Grilled Honey Soy Chicken
1.5 lbs. chicken of your choice, we like boneless tenders
2/3 c. honey
2/3 c. soy sauce
2 garlic cloves, minced
1/2 c. vegetable oil
1 TBS prepared horseradish
2 tsp. grill seasoning
2 green onions, chopped, optional
In a medium bowl combine all ingredients for marinade. Stir well until combined. Measure out a cup of marinade and refrigerate. Place chicken in remaining marinade and allow to chill for 5-6 hours. When ready to grill, remove chicken and discard marinade. Preheat grill to medium high. Spray with cooking spray. Place chicken on grill and sear for 2 minutes per side. Lower heat to medium low and continue cooking and basting with reserved marinade for 20 minutes until chicken no longer pink. Garnish with green onions, if desired.
Shared on Lady Behind The Curtain May 2, 2013
Shared on Miz Helen's Country Cottage May 2, 2013
Shared on The Country Cook May 3, 2013


 The Baklava Factory is certified kosher by the Rabbinical Council of California. Online, you can purchase products and enjoy sweet Baklava pastry dessert. Find out more on Kosher Dessert .


